Wednesday, December 28, 2011

Holiday greeting cards = next years' ornaments

I LOVE getting Holiday cards. Period. I like it that I'm on someone's "list" to get a card during the BUSY holiday season. I hang them up across this wall in my kitchen so I can always glance at my growing line of cards as I walk by.

You can imagine I have the hardest time tossing them when the holiday season is all said and done.
So, I turn them into ornaments. I'm sure there are WAY fancier ways to do this but I chose to do it very basic so the boys could help me.

The first way is just cutting the picture from the card with those scallop scissors, hole punching it and threading ribbon through it. Mason is actually glued to those scallop scissors so he was very excited about this project.

The second way is for when you have a card that has multiple pictures on it. The pictures are already squared off so its easy for the boys to cut out. We lined them up to look like a tree and glued toothpicks on the back to hold everything in place. Then we hole-punched it and threaded ribbon through it. It's driving me nuts that I forgot the "tree trunk" but you get the idea.


The third way is to just take advantage of the after Christmas sales and buy those festive, tiny picture frame ornaments for next to nothing. The pictures on holiday cards are the perfect size for those things!! This actually makes a cute gift for someone if you have some of your own cards left over (or if you have a baby annoucement you don't want to toss - see pic below).

I have always wanted to make a wreath and hot glue those tiny picture frames to it. For example, if I used the pictures in the second image, put them all in tiny frames, glued it to a small wreath and gave it to the family I recieved the card from, that would be a personal yet cost effective gift. Or hang all of the photo ornaments on a mini Christmas tree (saw a bunch at Joanne's). It would make a great centerpiece for your family or for a friend.

I thought I had bought a little wreath today at Joanne's BUT when I got home realized it was like 25 feet of pine rope. Oh well. It was $2 - I'll find something to do with it!


Thursday, December 15, 2011

UPDATE on book of good-doings as gift

Today I sent the kids off to their pre-k holiday party and in a gift bag enclosed the homemade book for the teachers.
I fell asleep, which I cannot believe, so my husband picked up the boys. I got a call from the owner of the pre-k program and she could barely talk through her tears. I was very emotional today after visiting the Sojourner Truth House so of course I was immediately crying with her.

She said in all her 47 years of teaching she has never gotten such a beautiful gift. She was trying to read the letter to her staff (on the first page) and couldn't get through it. So they passed the book around. They all wanted to take the book home to share it with their families.

I'm so glad they were touched. I was putting it together this morning and was having doubts about it. There was really nothing fancy about it - just blank paper with a short paragraph about the project and a few pictures. I was thinking it looked thrown together.

Its a good thing Adam picked up the boys because if I would have seen Mrs. Apato cry I would have cried. And I'm one of those really ugly criers - where tears pour from my eyes, not well up and trickle down my cheek - I mean GUSH out. My nose starts to drip - then everything gets red and puffy (my eyes, nose and lips). If I try to talk I sound like Daryl Hannah in the movie Splash when she tries to tell Tom Hanks her name in her "language." Then if I have to blow my nose it sounds like a foghorn. Which would have totally scared the kids..maybe even the parents.


http://thecrazeddish.blogspot.com/2011/12/book-of-good-doings-as-teacher-gift.html

Monday, December 12, 2011

My favorite Christmas Cookie

Spritz are my favorite cookies to make for the holiday.
Some recipes call for almond extract but I just use vanilla extract. So much to do with them and they taste so good!
Here is what we did this year with these cookies so far:

White chocolate iced sprinkled with candy cane and holly berry sprinkles:


We dyed the dough green and this is what Brant made all on his own. I LOVE it!!
I use the Pampered Chef biscuit cutters to make these size cookies. You can also stack the smallest circle and the next size up (which is what I have pictured). Frost them in pastel and it looks like a hat. A nice spring cookie.

Saturday, December 10, 2011

Homemade spa kit as gift

My sister and I thought it would be cute if you gave someone what appeared to be some kind of food basket and it was actually an organic spa kit.

Here is a small gift or stocking stuffer.
This is a tin I bought at Target for a buck, I added two teabags, a recipe card for the homemade facial and some oats.
I was trying to think of reasonably priced ingredients such as tea or oatmeal. Joy found these recipes using these ingredients from this site but there are tons of easy recipes online.
http://www.squidoo.com/topical_caffeine_tea_facial_scrub:

Here's What You Need:
* One teabag of caffinated black or orange pekoe tea
* Your favorite cold cream or ceam cleanser

Simply mix the two in your hands and apply liberally to the face. Don't be shy - you want to use as much of the tea in the bag as you can. After you gently massage as much of the mixture as you can onto the skin, let it sit for 3-5 minutes (remove if you feel it begin to tingle). Rinse with warm water and pat dry - that's it!
Be sure to apply a light moisturize

Honey and Oat Mask
  • 1/3c regular or quick cook oatmeal
  • 1/4 cup of honey
  • 1/2 cup of water
  • 1 teabag of Black or Orange Pekoe tea
Put the teabag into a microwave safe cup with water and microwave for 2 minutes and 30 seconds. Steep the tea for at least 30 seconds. This tea should be hot enough to cook the oatmeal - pour the tea slowly into a bowl containing the oatmeal. Stir until the mixture thickens to a mucky texture. Add the honey and blend by stirring thoroughly. Let the mixture stand until cool.
 
Apply the mask and allow it to dry. Rinse with warm water, and you're done! This mask exfoliates and removes excess oil from the skin, as you know. However, this version of the mask also infuses caffeine into your skin as it works, giving a boost of vibrance as it removes oil and impurities.

tea cup christmas card

I saw this as a get well card on familyfun.com (the craft/card is called spot of tea). But I think it would make a cute Christmas card or ornament.


Snowman Candle Holder

We can't find Mason's blankie and he is very sad. It has to be in the house but I haven't been able to find it. Painting is the best way to get his mind off of it. So we made some snowmen this morning.

Here is how they turned out.
We used masking tape, white paint, orange paint, a ribbon and a sock for the hat. I want to keep the hat on the jar so we are using the battery operated votive candles.


Mason painted his snowman blue - turned out cute!


Friday, December 9, 2011

Ornaments

Tonight was fun.
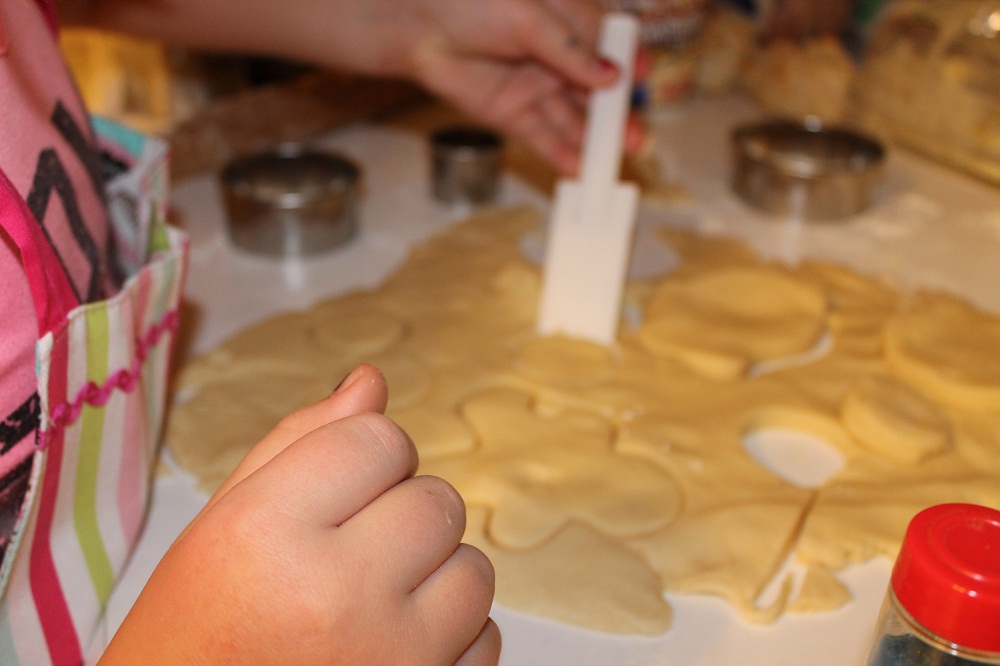
I'm blessed with amazing neighbors. One of them has a little girl and she came over to bake and do some crafts with the boys and I.
She brought her pink apron over - it was so cute. I can't wait to do this kind of stuff with Isla when she is older. It's strange that I have to wait 4-5 years for that!! LOL

Anyway, here is what we did.
I saw this ornament on Pinterest and I loved it. I was very surprised at how excited the boys were to stuff feathers into this plastic ornament. They were both very focused - totally thought Norah would have chosen that project but my boys couldn't wait.


 Norah made this for her parents which I find both sweet and creative.


Everyone painted an ornament too. I bought 4 wooden ornaments for a buck or less, the bag of feathers were $1.50, the plastic ornaments were $0.75/ea, the bag of foam beads in Norah's ornament were a buck...cheap and kept everyone happy for 2 hours!!

We also baked cookies. I can never get frosting SUPER red so I bought some at Micheals. It saved me frustration. I melted those Wilton white chocolate discs and made hearts and snowflakes on wax paper. We stuck them in the freezer until it was go-time.
Below you can see where we used the white chocolate heart.
I actually prefer to use the melted discs instead of frosting because of they way it hardens on the cookie - it doesn't smear as badly. I like how thin you can spread it over a cookie, which is great for layering. It also makes a great "glue."